
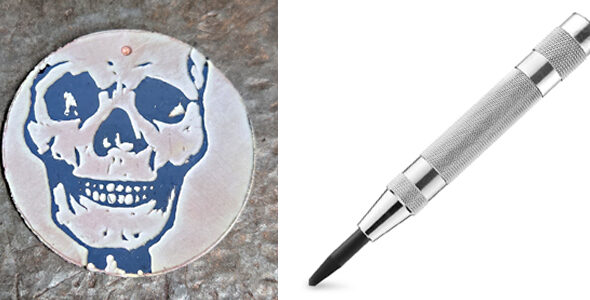
Creating precise holes in metal is one of those small details that can make or break a jewelry design. If you go straight in with a drill bit, it’s easy for the bit to skate across the surface, leaving scratches or landing in the wrong spot. That’s why I always start with a center punch to make a tiny indentation before I drill. It only takes a moment, but it makes a huge difference in accuracy.
This post contains Amazon affiliate links. As an Amazon Associate, I earn from qualifying purchases, which helps support my jewelry work at no extra cost to you.
How to Use a Center Punch for Jewelry Making
Step 1: Mark your spot
Use a fine-point marker to place a dot exactly where you want the hole. It gives you a clear visual reference before you line up the punch.
Step 2: Set up your work surface
Lay your metal flat on a solid, sturdy surface like a steel block. This helps the punch make a clean indentation without wobbling.
Step 3: Position the punch
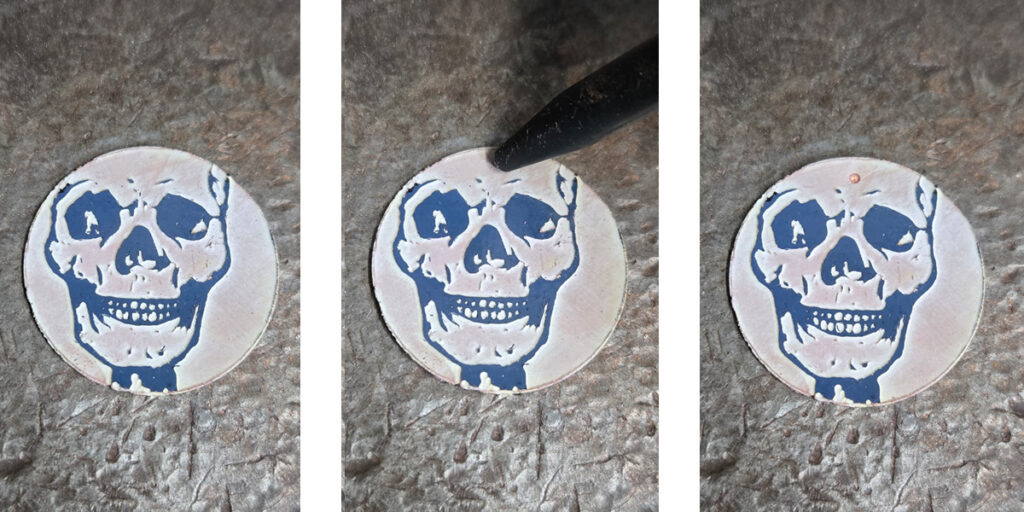
Place the tip of the punch directly over your marked spot. I usually use both hands on the punch to keep it steady and to apply even pressure. This helps make sure the indentation lands exactly where I want it.
Step 4: Press down
Apply firm, steady pressure until you feel and hear a click. That click is the spring releasing and driving the tip into the metal to leave a small dimple.
Step 5: Check your indentation
The dimple should be deep enough to catch the drill bit but not so deep that it distorts the metal. If you need more or less force, you can adjust the punch by twisting the top cap to change the spring tension. I find this really useful when I’m switching between thin copper and heavier gauge metals.
Now your piece is ready for drilling, with the bit securely guided by that indentation.
Why I Recommend This Center Punch
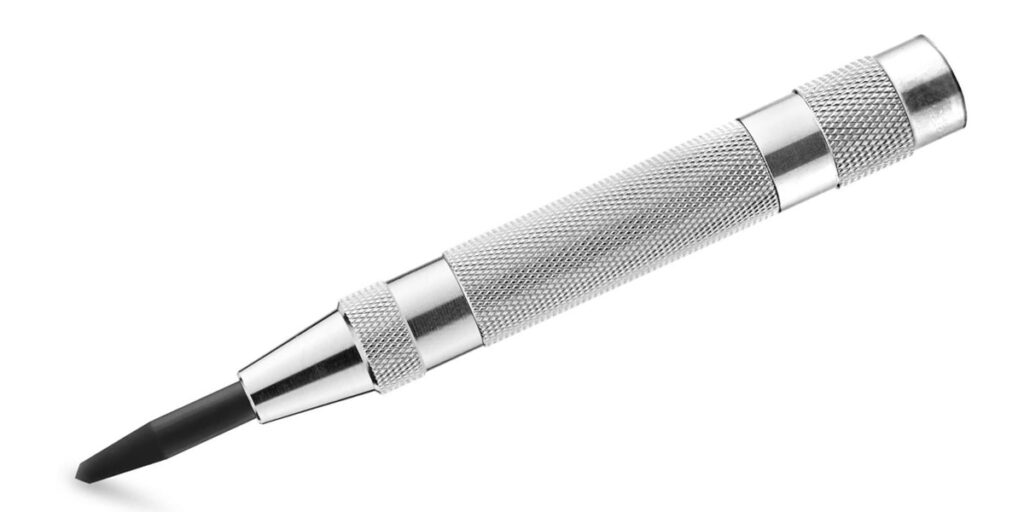
The punch I use is the NEIKO 02639A 6-Inch Automatic Center Punch. One feature I really like is the adjustable spring tension, which lets you match the force to different metals. A lighter press works well for thin copper, while a stronger impact is better for thicker metals or steel. To adjust the tension, simply twist the top cap: loosening it slightly reduces the spring force, and tightening it increases the impact. The chrome-plated shank and steel tip hold up to repeated use, making it a reliable tool to keep at your bench. The NEIKO is a bit on the beefy side, which is one of the reasons I like it, though for thinner copper it can feel a little heavy. For that type of work, I’ve also used the YUIOASE 5″ Automatic Center Punches. They hit just the right amount of force on copper, though they don’t last as long as the NEIKO. Over time, the hammer action can become a little inconsistent, which is probably why they’re sold in sets of two. At that price, it makes sense to grab an extra set so you’ll always have a backup ready.
Tips for Best Results
-
Always make sure your surface is flat and solid to avoid uneven marks.
-
If you’re making a pair of earrings, measure carefully so your holes line up evenly.
-
Keep the tip of your punch clean and lightly oiled if you notice marks, residue, or oxidation starting to build up.
Final Thoughts
Taking a few seconds to use a center punch can save you a lot of frustration later. It keeps your drill bit from slipping, helps with symmetry, and gives your jewelry a more professional finish. I’ve linked the punch I use here so you can check it out if you’d like to add one to your own bench setup.